Panel painting photo gallery
2021-04-02 panels
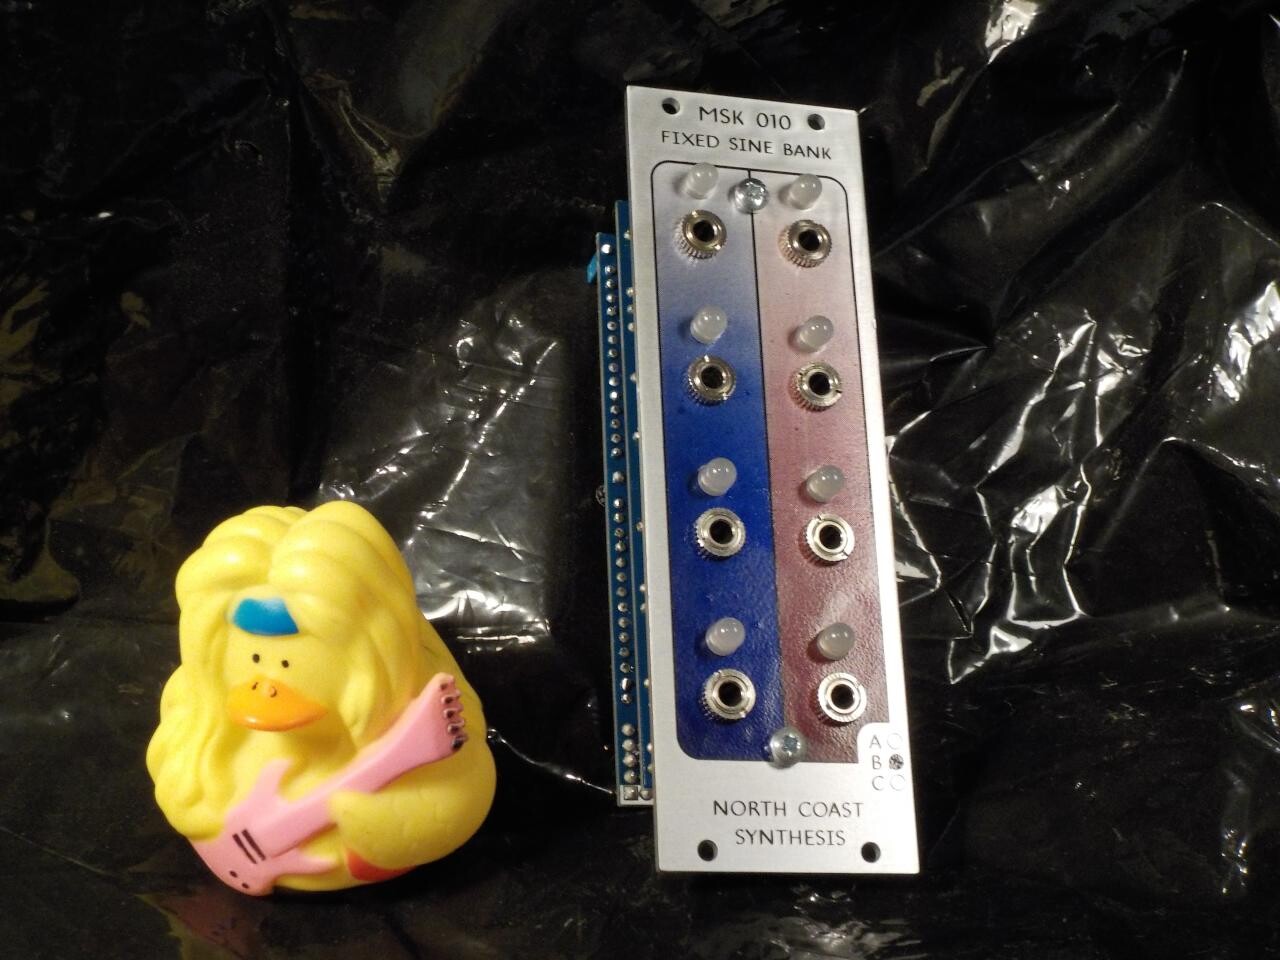
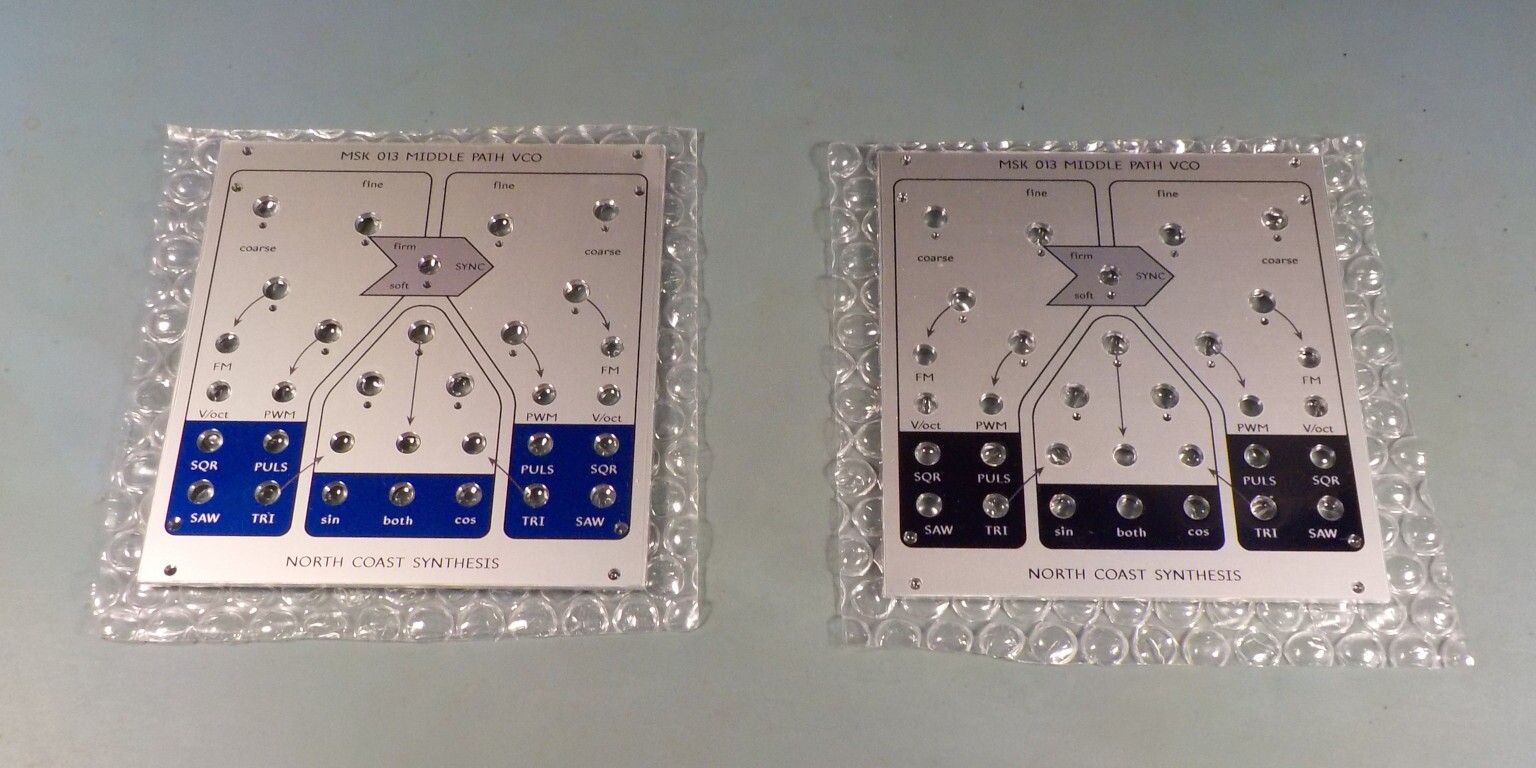
Last year the contractors who make panels for my products had an issue with some newly-installed equipment and they shipped me a batch of panels with the wrong colours. Here's a comparison of a good panel (left) with one from the bad batch (right).
I can't really use those as-is; the colours are important to my branding and I don't want to have miscoloured panels that look like knock-offs, in circulation. The contractors sent me replacements, but I was left with the stack of bad panels, which I didn't want to just throw out. So I decided to use them for research and development, to test out some techniques I've been thinking of using for decorating future non-Eurorack products.
In addition to the bad panels from this batch, I had a few left over samples that I had received from other manufacturers; unprinted panels I had had made for prototyping; and panels that had failed quality control and ended up on my shelf. I also decided to paint some obsolete PCBs (left over from prototyping runs and so on) for additional testing and practice.
I'm planning three phases to this project: spray paint with tape masking; dipped marble paint; and printed hydrographics. I spent a lot of time planning and it's only just in the last few weeks, as the weather has started to be good enough to work outdoors, that I've been able to make some progress on it. I was also held up a bit by the ongoing emergency situation in Ontario regarding coronavirus disease. Things have not gotten better as of early April 2021, quite the contrary, but over the past few months I've managed to gradually acquire the things I need for this project and at this point I can proceed without needing to go anywhere or have contact with others, so it's a good project with which to stay busy during lockdown. Some of this stuff has already been shown or talked about on my weekly Twitch stream, but since I can't stream my outdoor work, a lot of it I have to show in the form of before and after pictures.
My idea was that at the end of this if any of the panels turned out good enough to be usable, I might sell them as part of a "special edition" series of assembled modules. The main purpose, though, would be to test out the painting processes. I've been watching a lot of YouTube videos from Brad Angove (mostly painting, especially on guitars); All Things Fun Hydrographics (hydrographic pattern-dipping, mostly on guns); and Liquid Concepts (more hydrographics, focusing on car parts); and I thought it would be fun to do some of that stuff on synthesizers or other audio equipment.
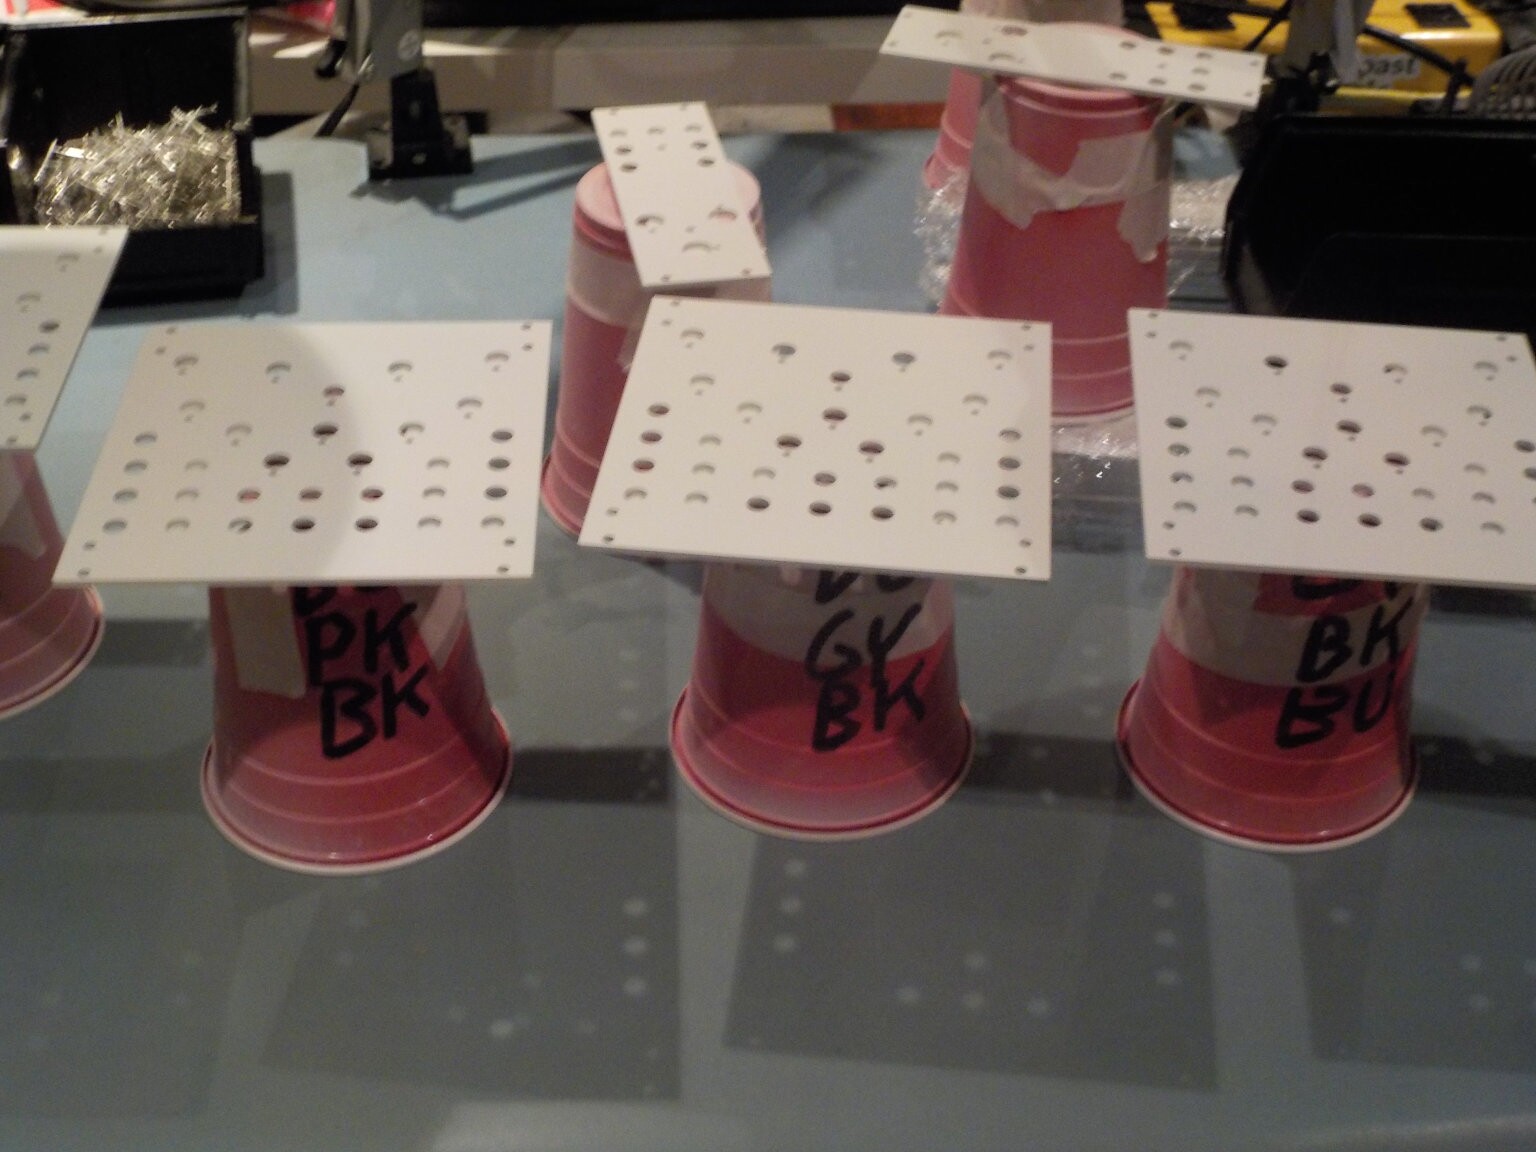
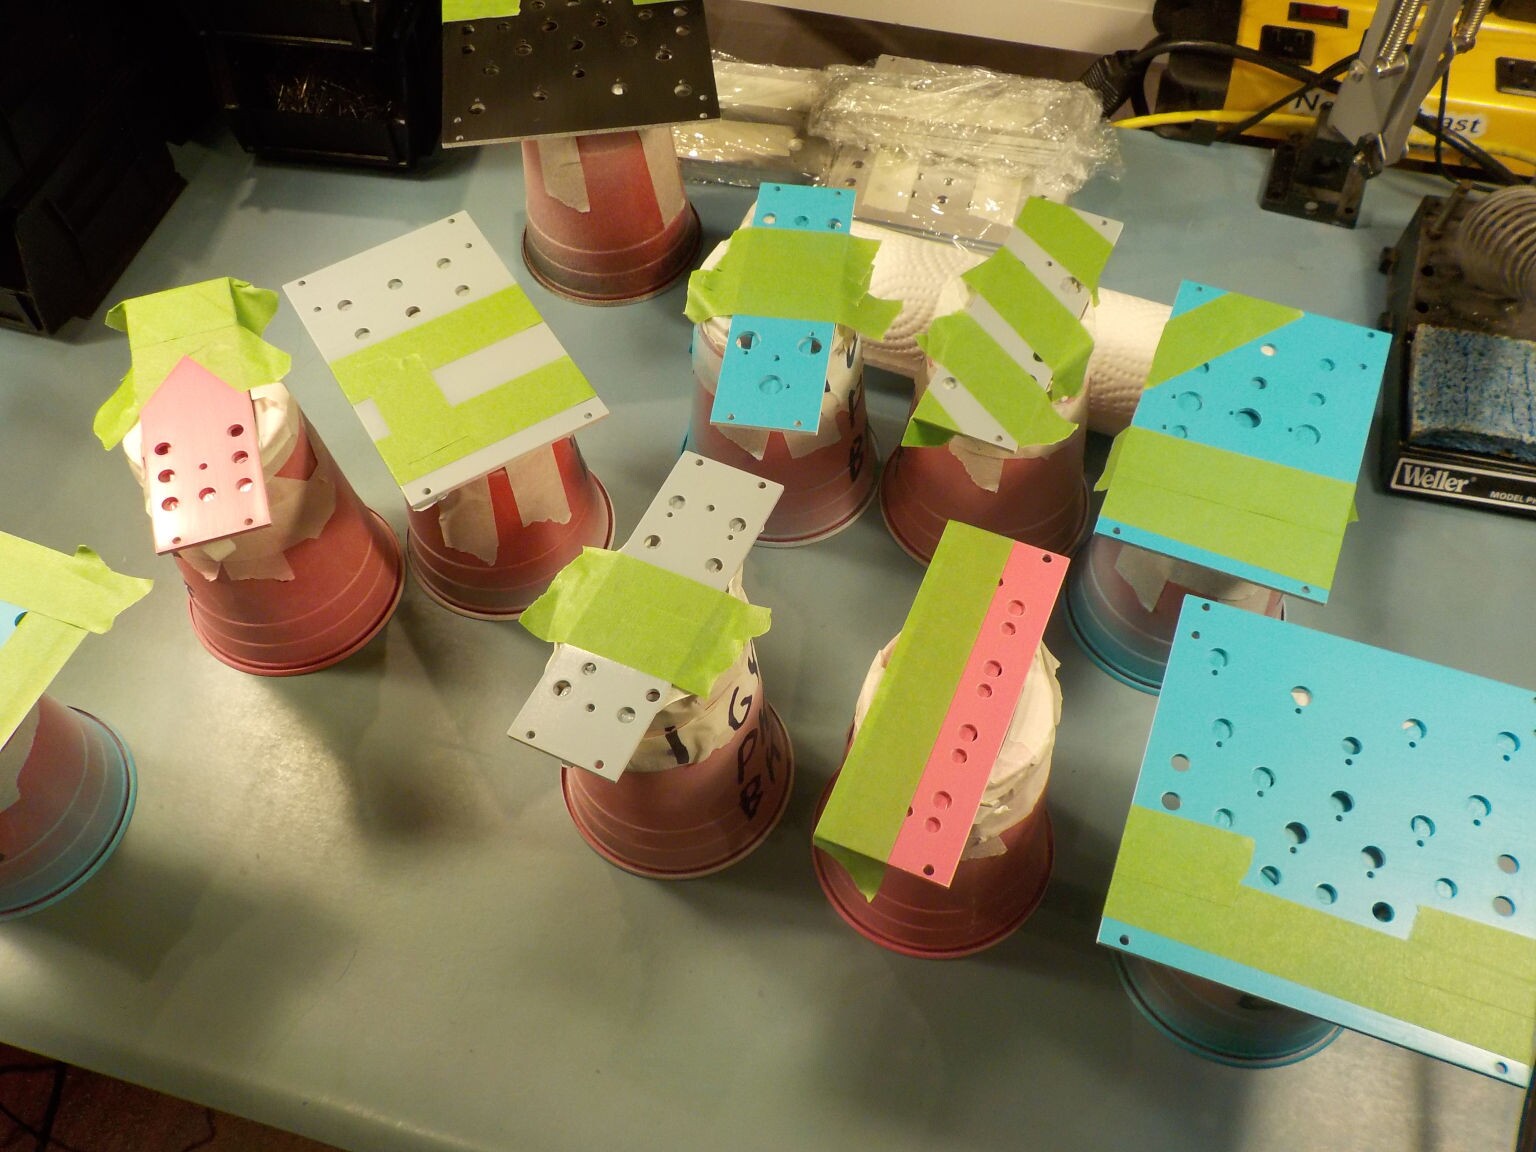
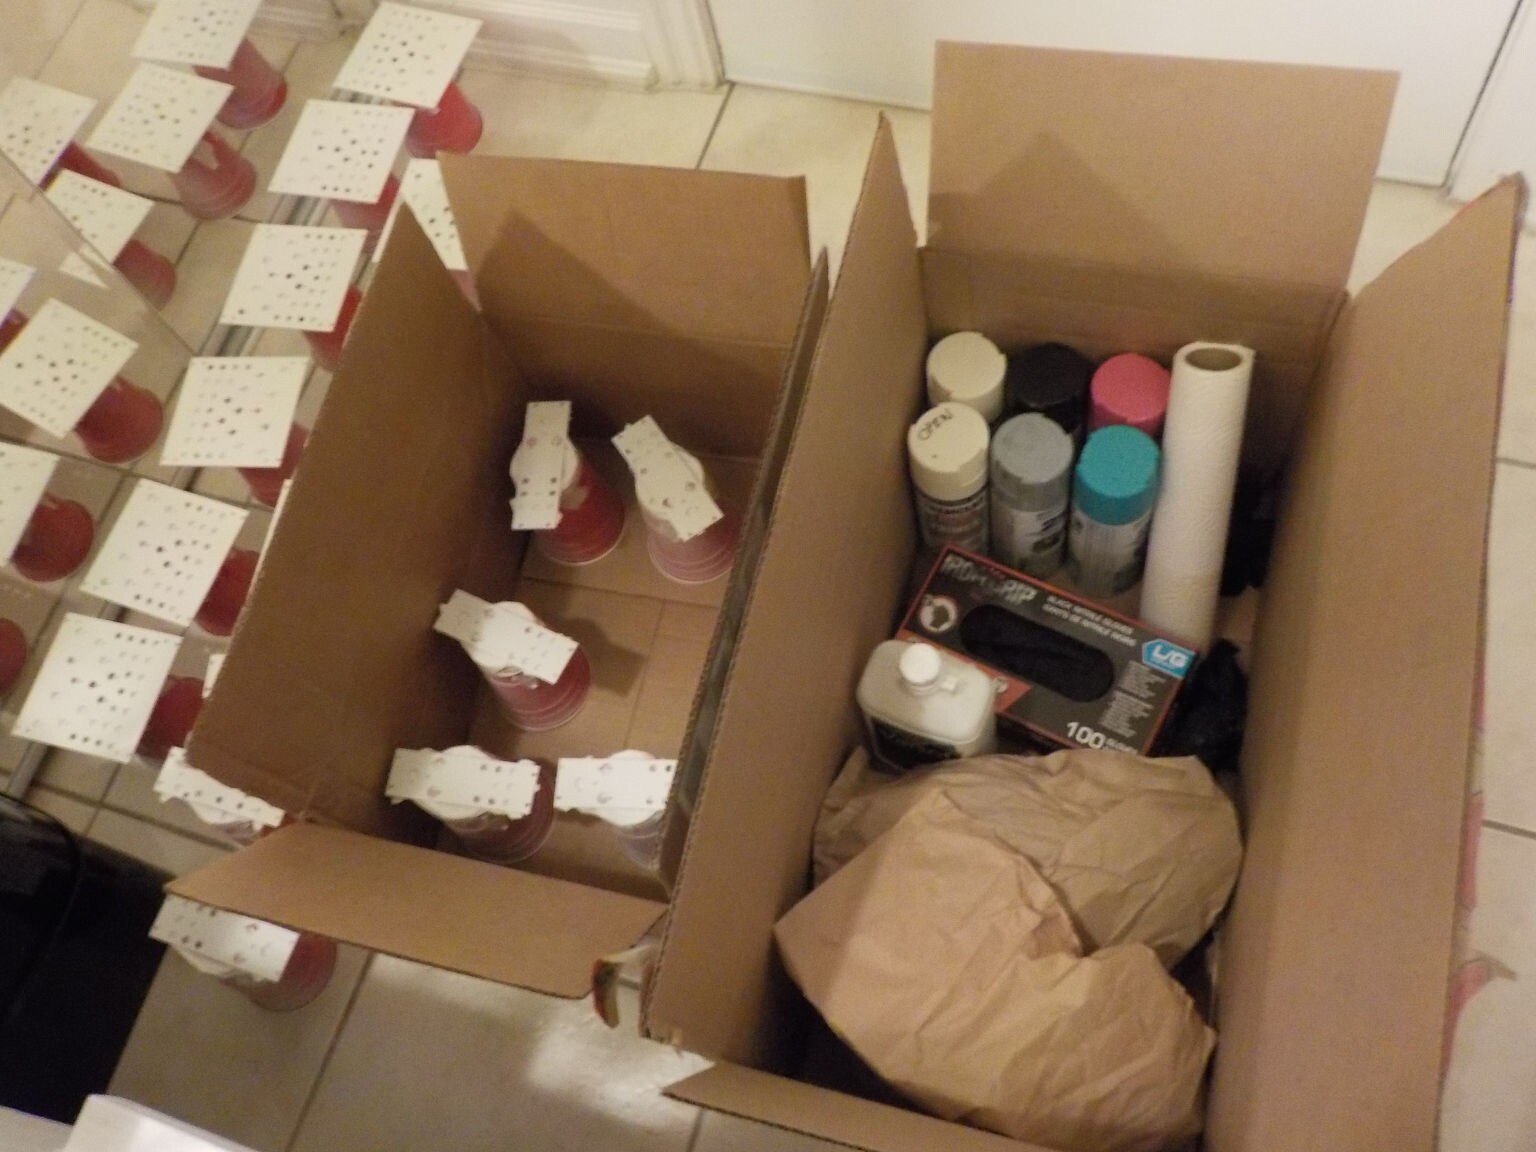
On the stream, I spent some time sanding the bad panels to remove all the wrong-colour printing. What I found worked best for that was 320-grit silicon carbide paper, used wet, with a sanding block. Then I taped the first batch to plastic cups to make them easier to handle and stay elevated above the surface when drying (this is important for avoiding dust), and I sprayed them with two coats of "galvanized metal" primer.
After priming I tried sanding the specific panels in that photo with dry 600-grit paper, mostly to remove bits of dust and debris that unavoidably got into the coating, but after further experiments I think using grey Scotch-Brite to scuff the coating works better and I've used that for all the later ones - both on the primer and between colour coats. The primer and most of the coloured paints I'm using have "flash-off" times of 15 or 20 minutes (meaning the time after which it is dry to touch and you could spray the next coat); "open" time of an hour (meaning the latest you can spray another coat if you don't want to stop and let it full cure); and "cure" time of 48 hours (you must wait that long, and sand or scuff the previous coat, if you have exceeded the "open" time).
I also found, by experiment on the PCB samples I'd set aside for this purpose, that acetone and acetone-based degreasers are a bad idea with the paints I'm using. Isopropyl alcohol works pretty well with some care, although the light blue paint shown in my pictures is sensitive even to that. The blue is a "satin" paint instead of having the "gloss" finish of the others, because that was what I could given the constraints of shopping in Plague Times.
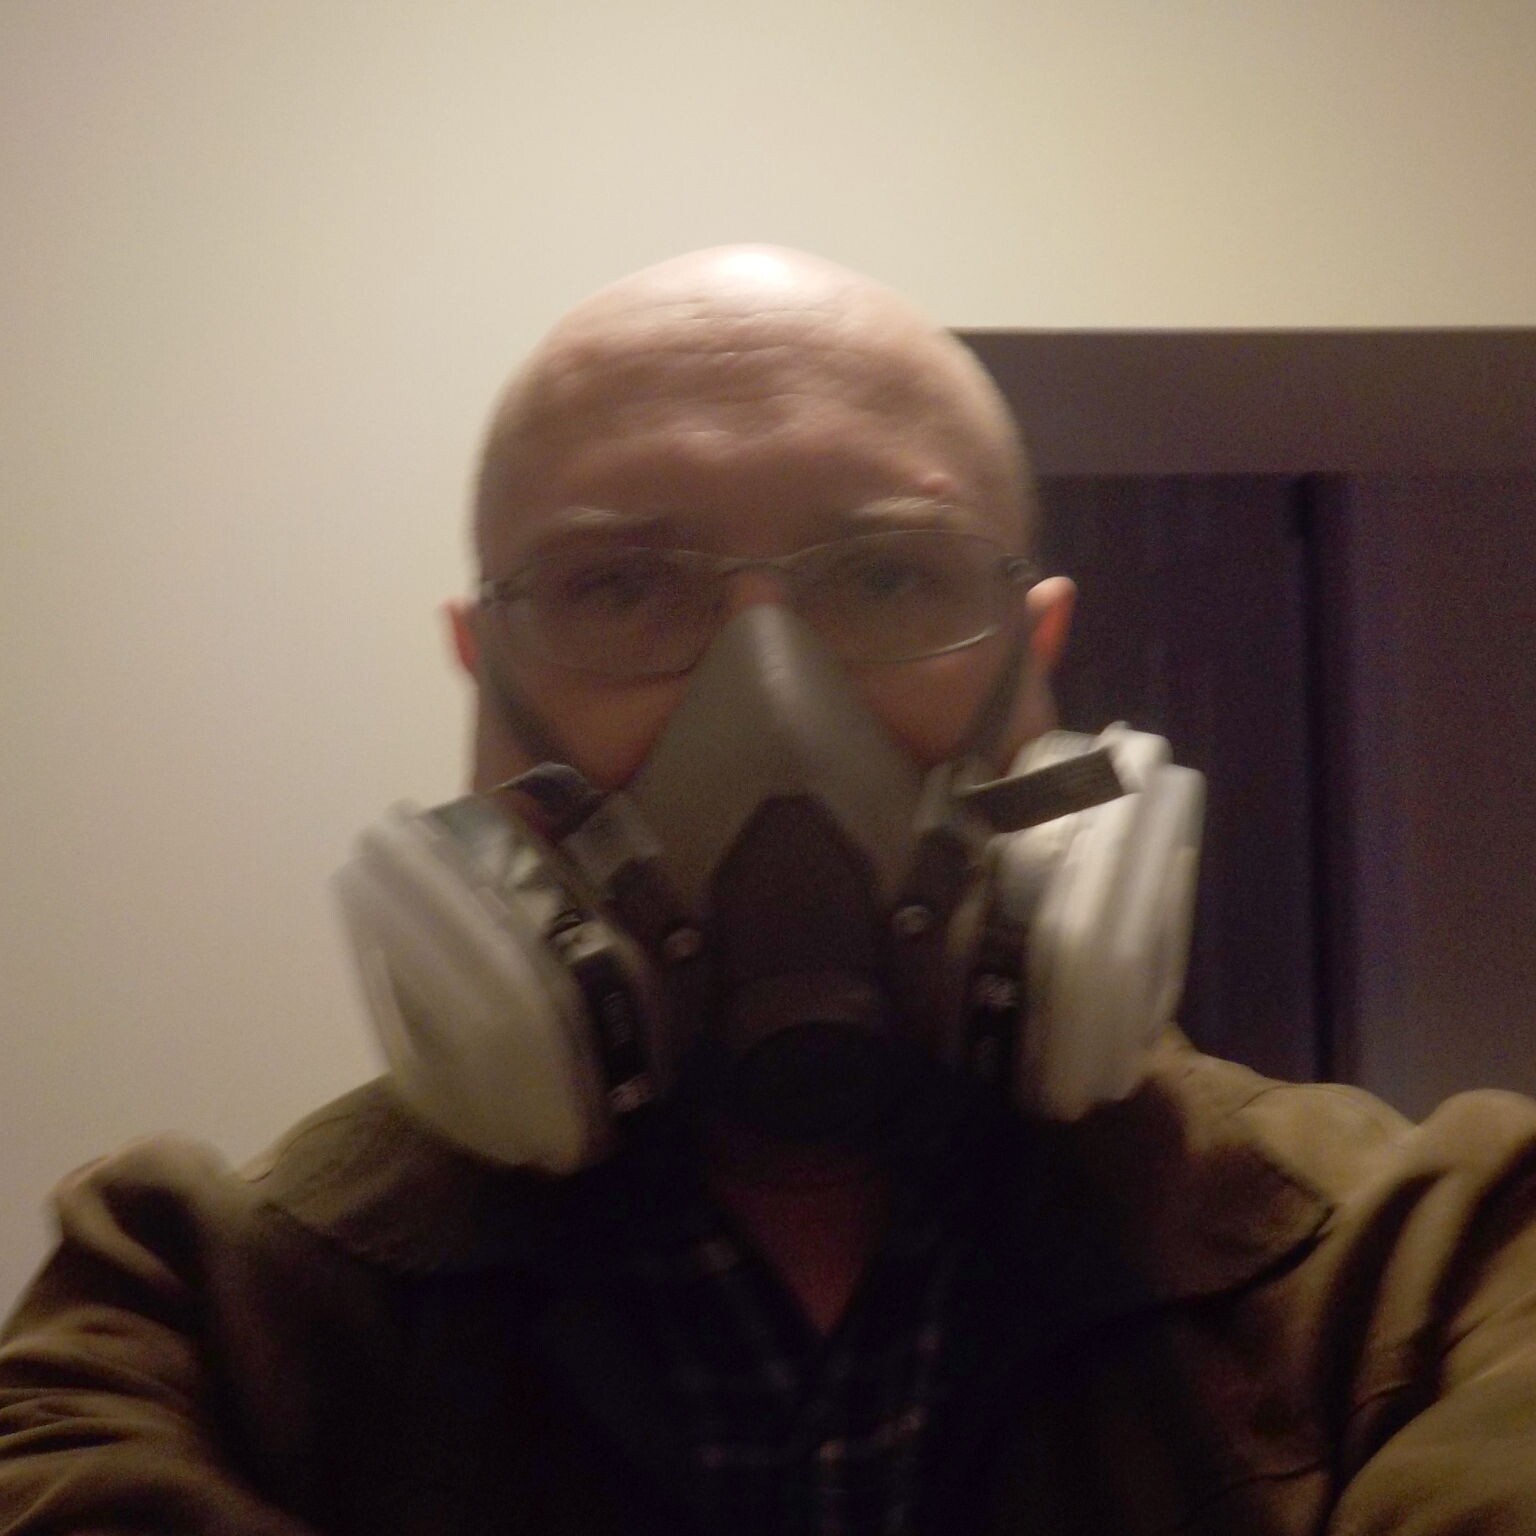
Although the paints I'm using at this stage are consumer-grade and only labelled DANGER, not EXTREME DANGER, it's always advisable to wear at least a half-face organic vapour respirator when spraying paint.
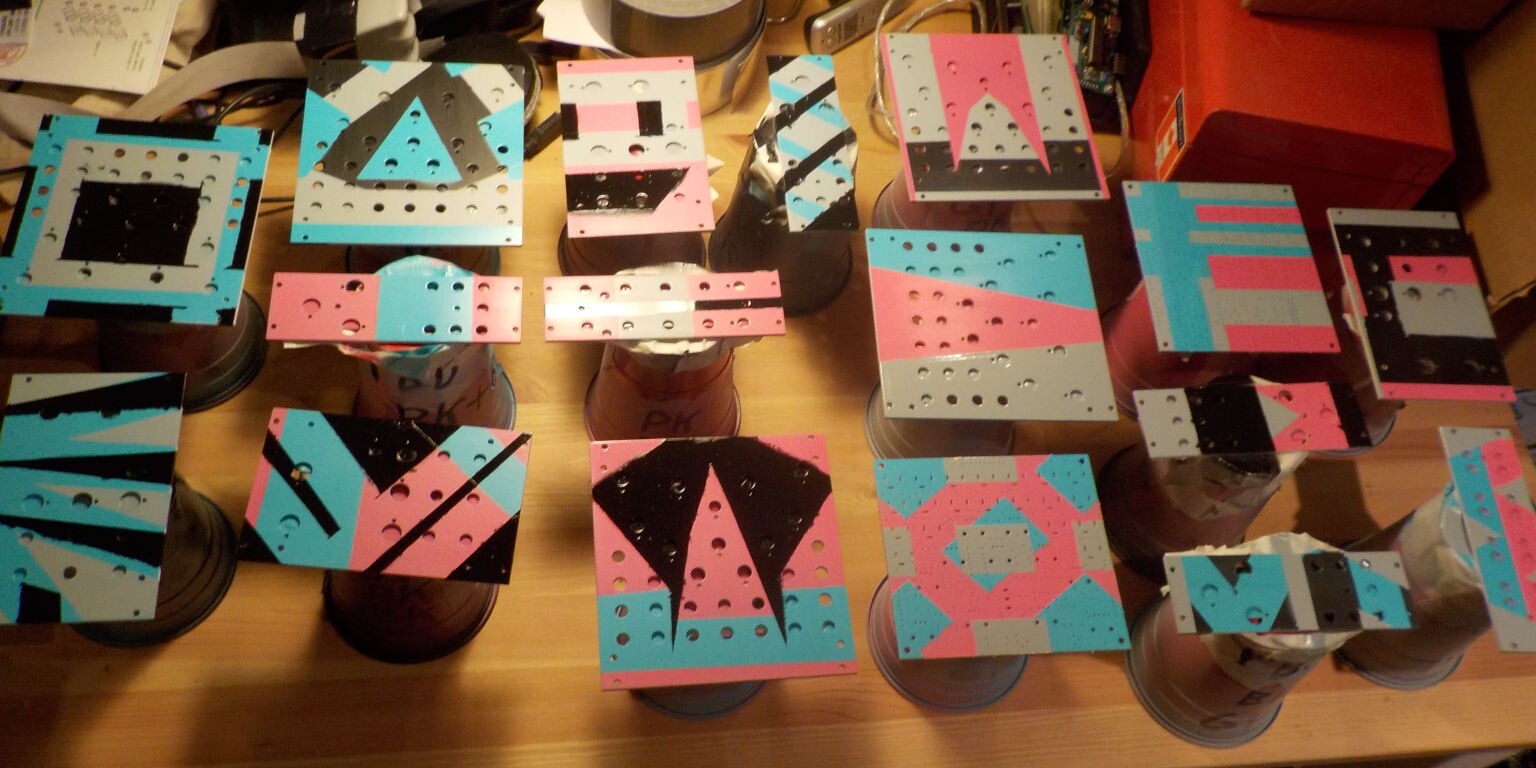
In this first batch my plan was to put three colour coats onto each panel, in varying orders and combinations, with masking tape used to block off sections of earlier coats and build up an interesting colour pattern that would make each panel unique. Here are the first colour coats.

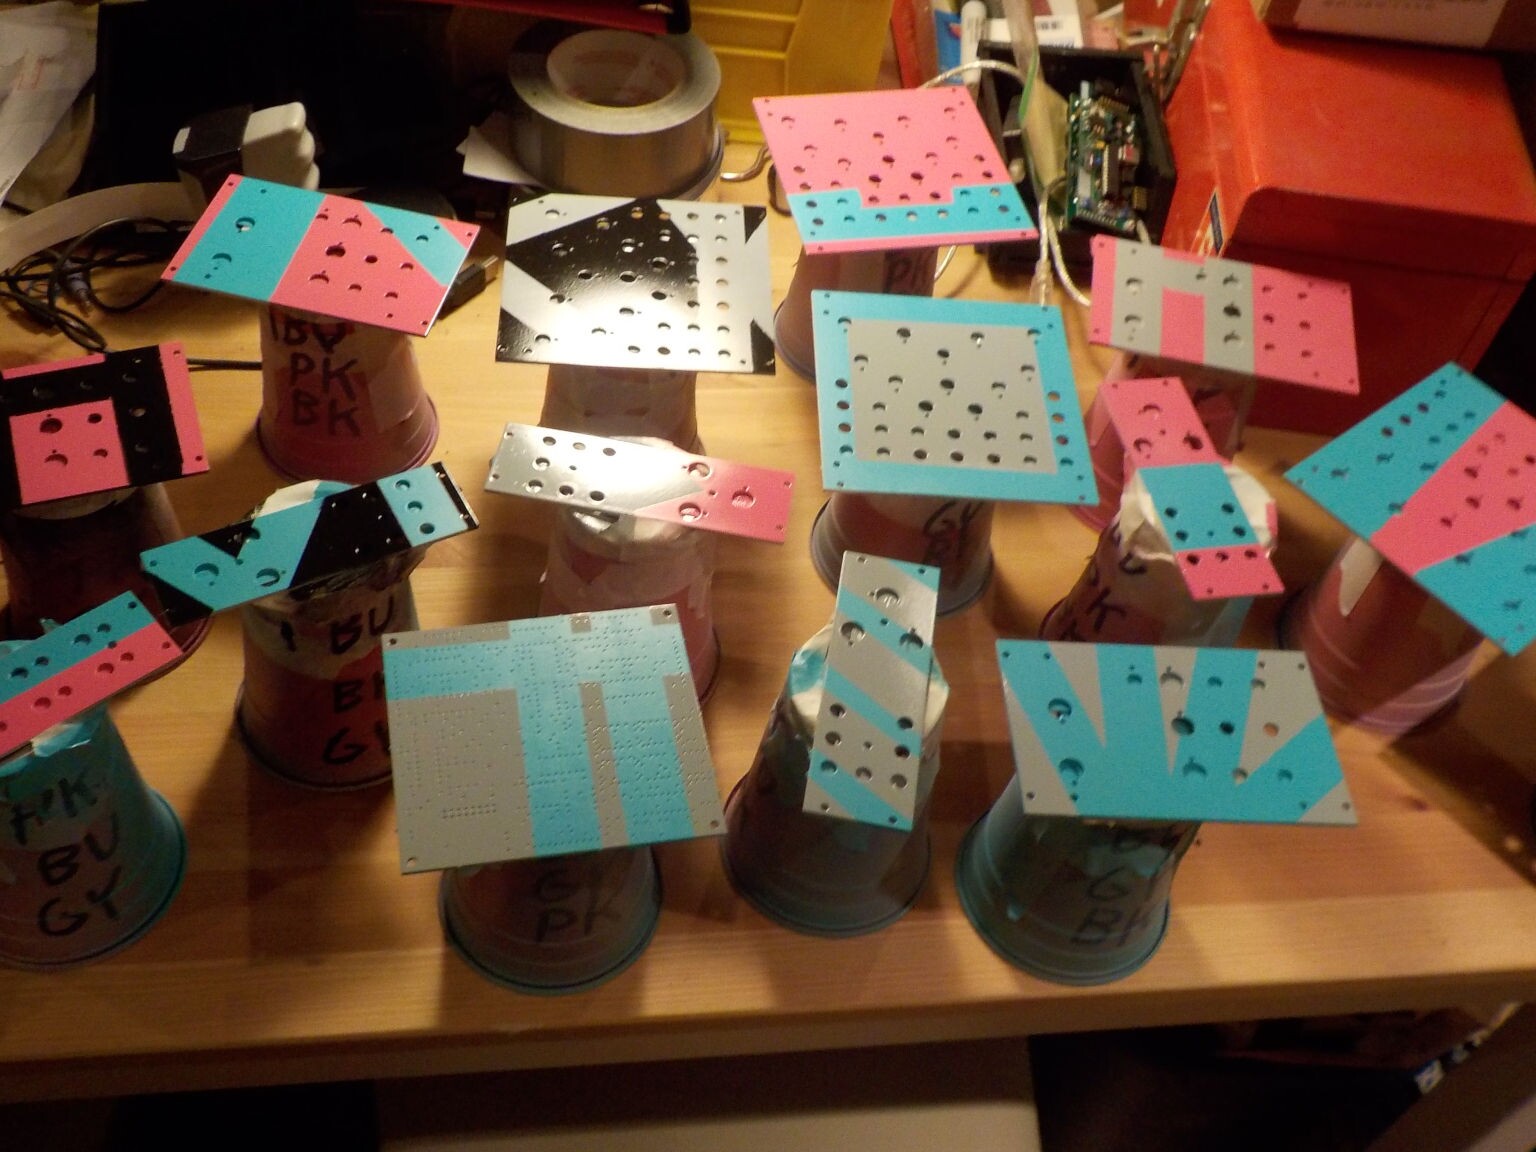
After spraying the first colour coat and waiting for it to cure, I taped off the parts I didn't want to cover with the second colour coat, then scuffed it with the Scotch-Brite and degreased it with alcohol. On this round I did the taping first, before the scuffing, but I think I learned that that wasn't a good idea - the scuffing and degreasing interfered with the tape and made the mask lines less sharp. So on the second round of taping I did it the other way around, with the surface prep before the taping.
After pulling off the tape, the panels looked really good. There are some irregularities around the tape lines, especially where the alcohol I used for degreasing caused the tape to peel up a bit, but this is after all an R&D project intended to be a place I can learn about issues like that, and maybe I can call it part of the rustic charm of a handmade product.
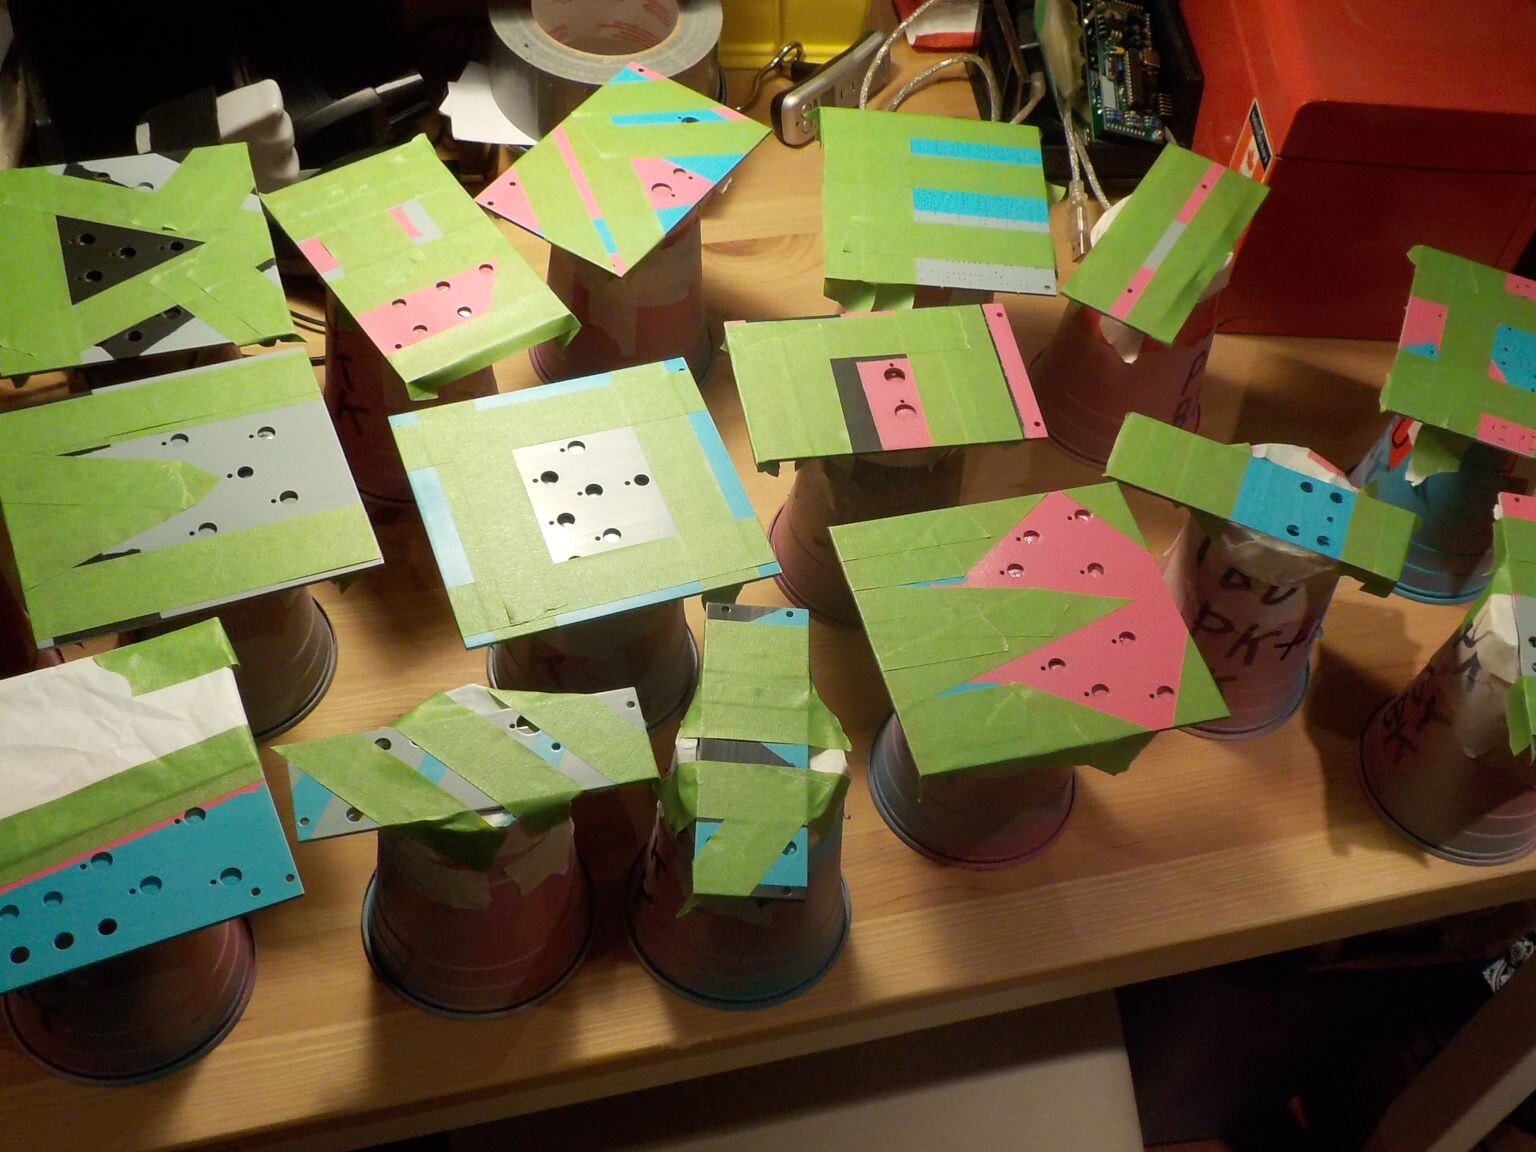
Now here's the second round of taping - done after the surface prep, in the hope that will work better.
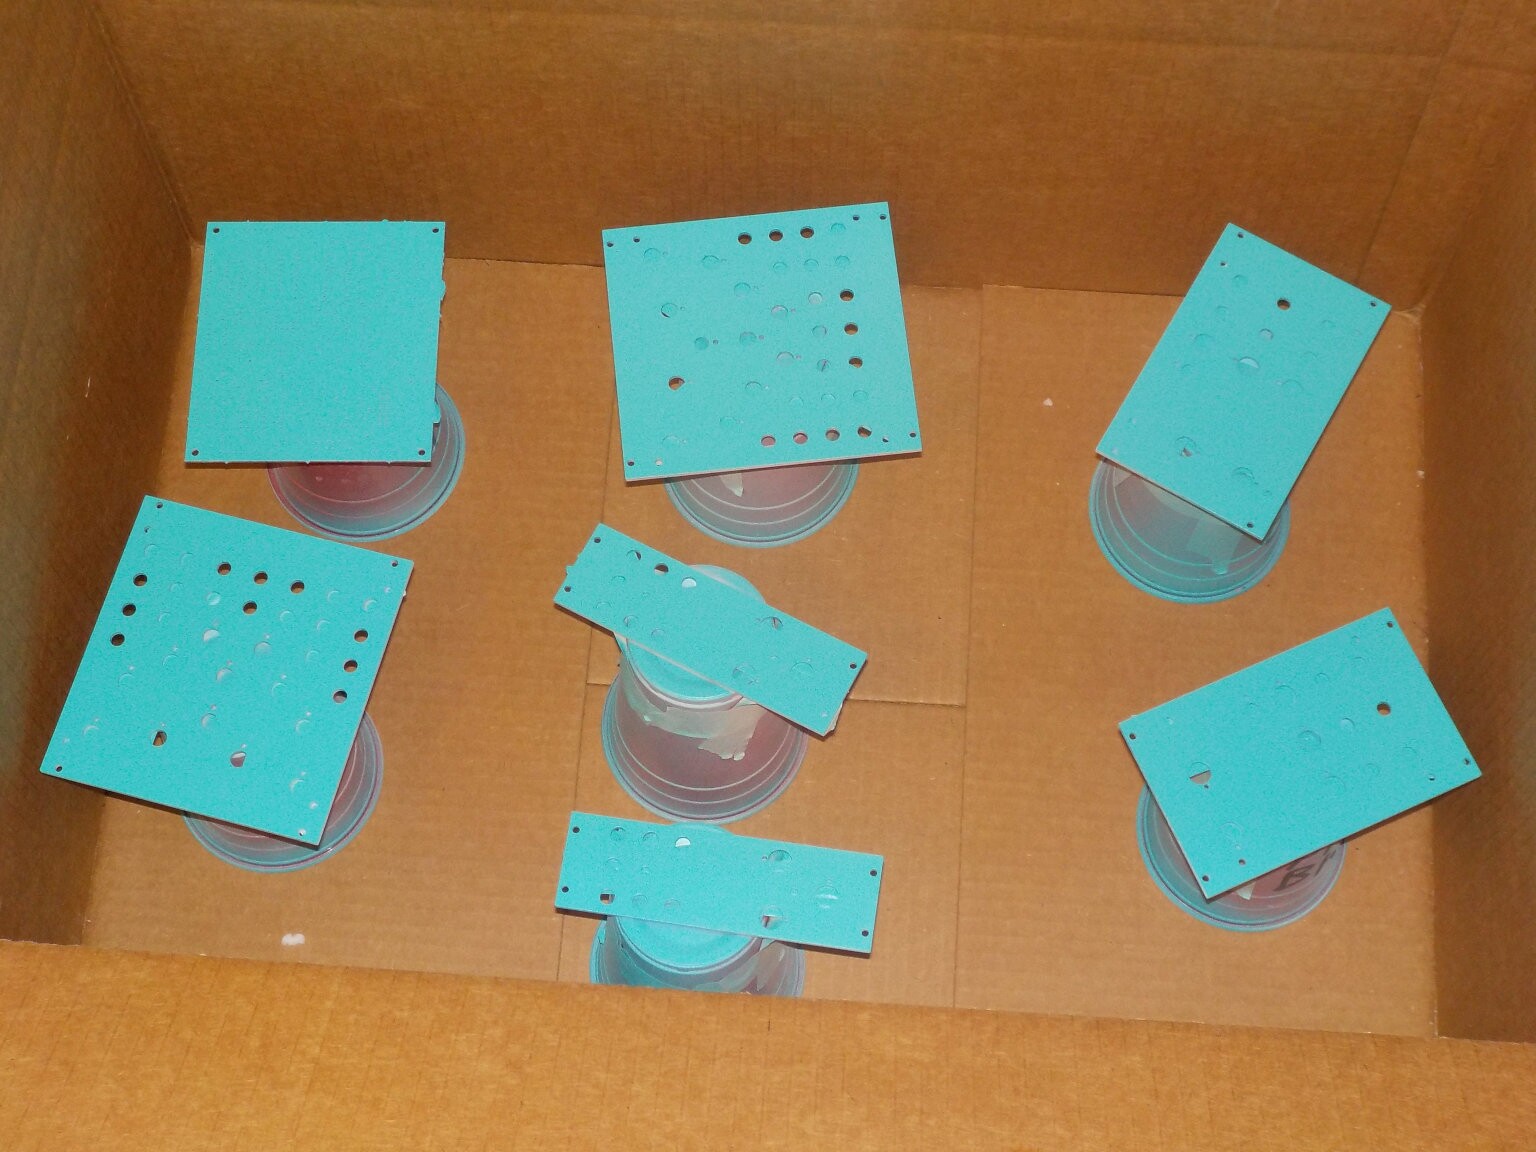
That fact that I need to leave 48 hours between coats, and can only spray outside when the temperature is at least 10C and the chance of rain is very low, means that the multiple stages of this project have to be spread out over time. As of this writing, the first batch of panels are in the state shown above, with their tape waiting to receive the third colour coat when the weather cooperates. But I did take the opportunity to also prime the second batch (the ones that will be swirl-dipped). Here are some of those, with my cans of spray paint, disposable gloves, and so on.
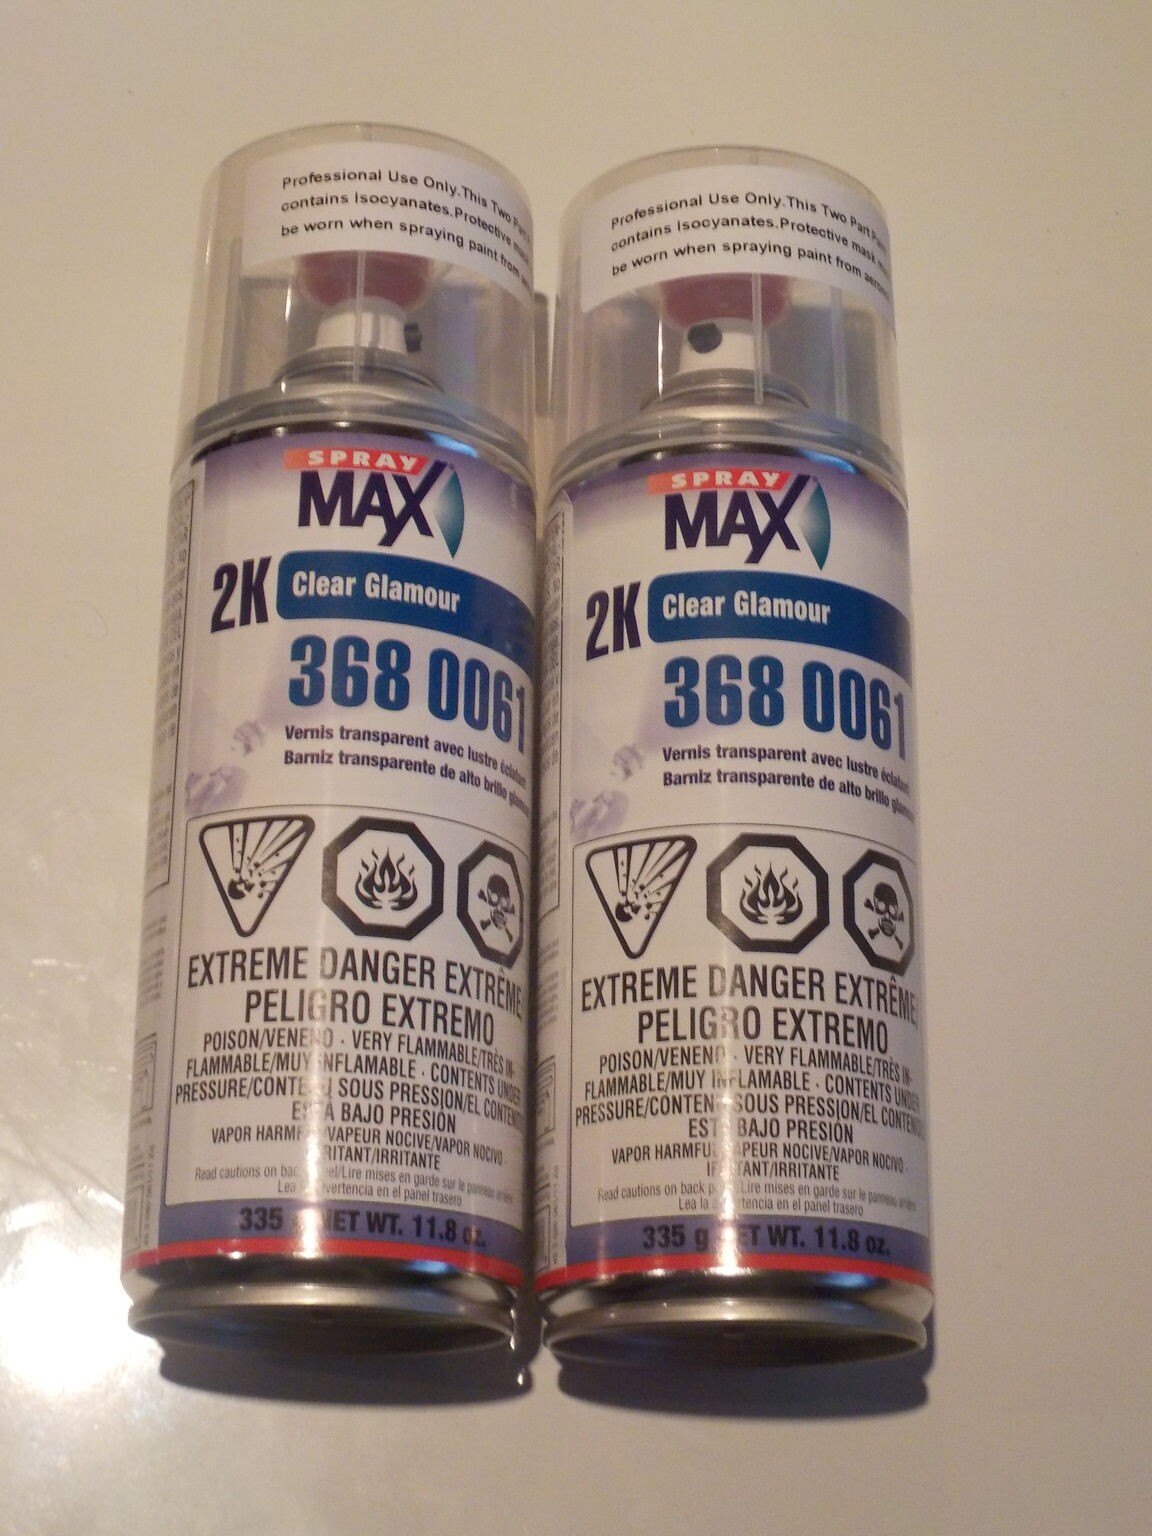
I won't be spraying the final clear coat until I have all three batches of panels ready for that, to do them all at once, because the 2K polyurethane I want to use only has a limited "pot life." It it formulated as two parts that start reacting and turning into solid plastic once mixed, so the idea is that immediately before you're going to spray it, you perform a ritual that breaks internal seals in the can and causes the components to mix, then you spray it, and any left unused will solidify permanently in a few hours. This stuff is toxic, labelled EXTREME DANGER and "professional use only" (I get paid to do this, so I am a professional), and it definitely requires safety equipment and precautions. The reason to use it is that it gives a hard, durable coating that can't really be matched by single-component clear coats.
UPDATE: Today after posting this gallery, the weather actually warmed up enough that I was able to slip out and do another round of painting. I wanted to take the opportunity given that the weather is predicted to be rainy for most of the next week. This is basically the last colour coat on the tape-masked panels; now they're done except for the final clear coat. Some of the results weren't perfect - in particular, the tape didn't seem to work well on any of the panels that had black as the last colour in the sequence. But they definitely look handmade, and some of the patterns came out better than I expected. Stay tuned for the marbled and hydrographic panel batches.
◀ PREV Passive multiples and friends || Aconcagua NEXT ▶